Maths · Preschool–Kindergarten
Free oval tracing worksheets
Three oval tracing worksheets: nine large dashed ovals, sixteen small ovals in a 4 by 4 grid, then mixed tall, wide, big and small ovals. Each has start dots and a box to draw three of your own.
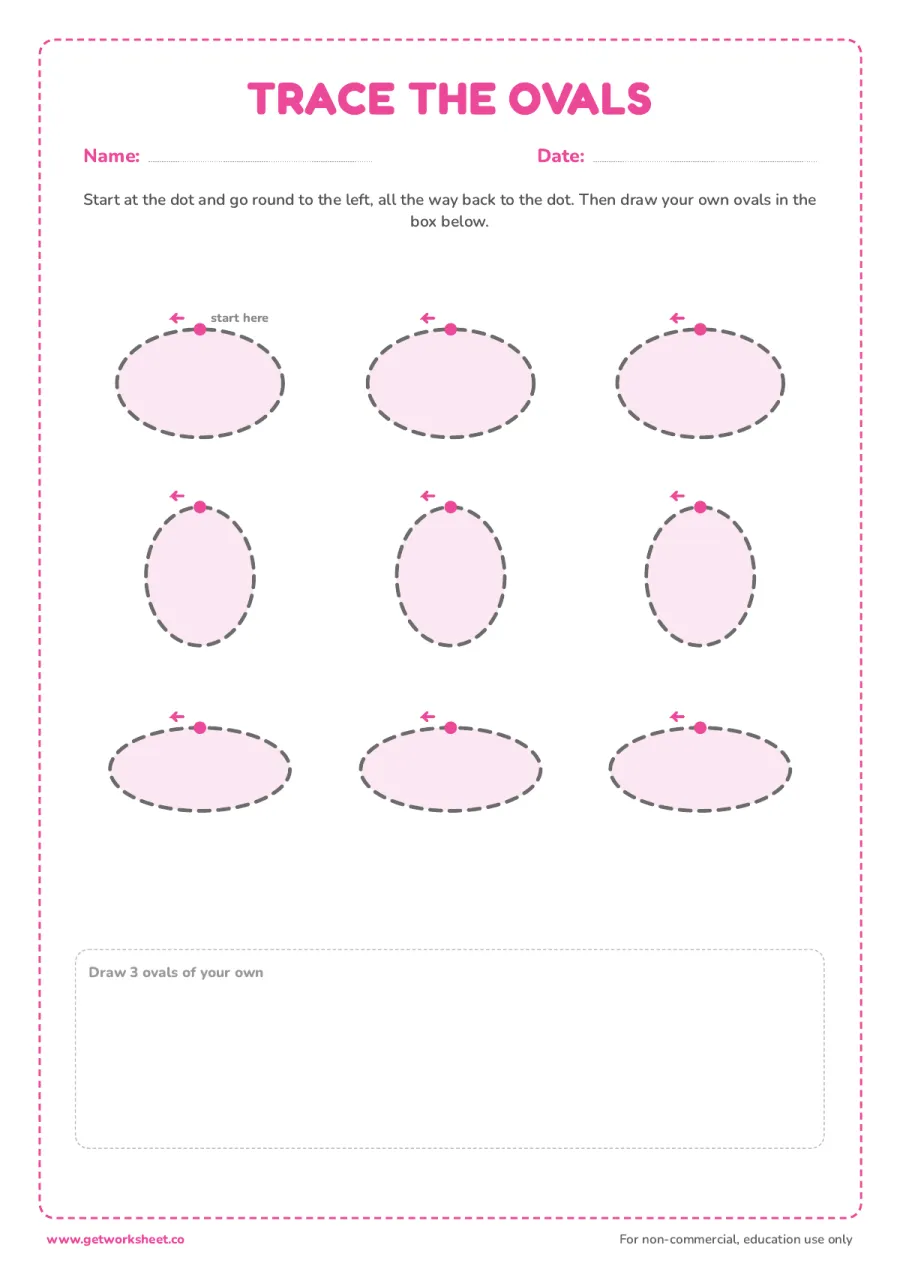
Trace the ovals: 9 large ovals, then draw 3 of your own
Nine large dashed ovals in three rows (wide, tall, wide) with a start dot and arrow on each; child traces round then draws three ovals in the box.
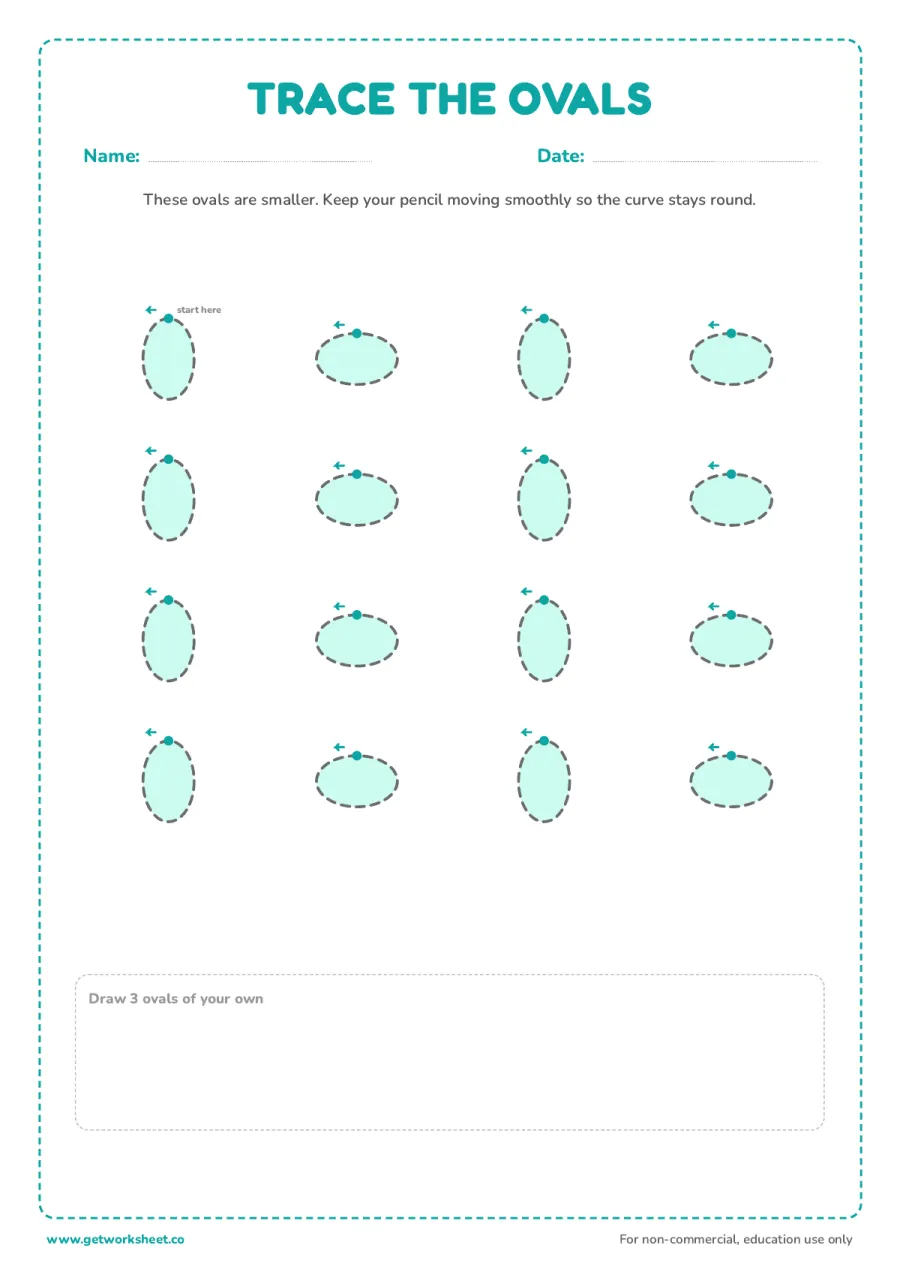
Trace the ovals: 16 small ovals in a 4 by 4 grid
Sixteen small dashed ovals, four per row, alternating tall and wide, each with a start dot; child traces smoothly then draws three ovals of their own.
Whole set
All 3 sheets in one PDF
Instant and ad-free. No account needed.
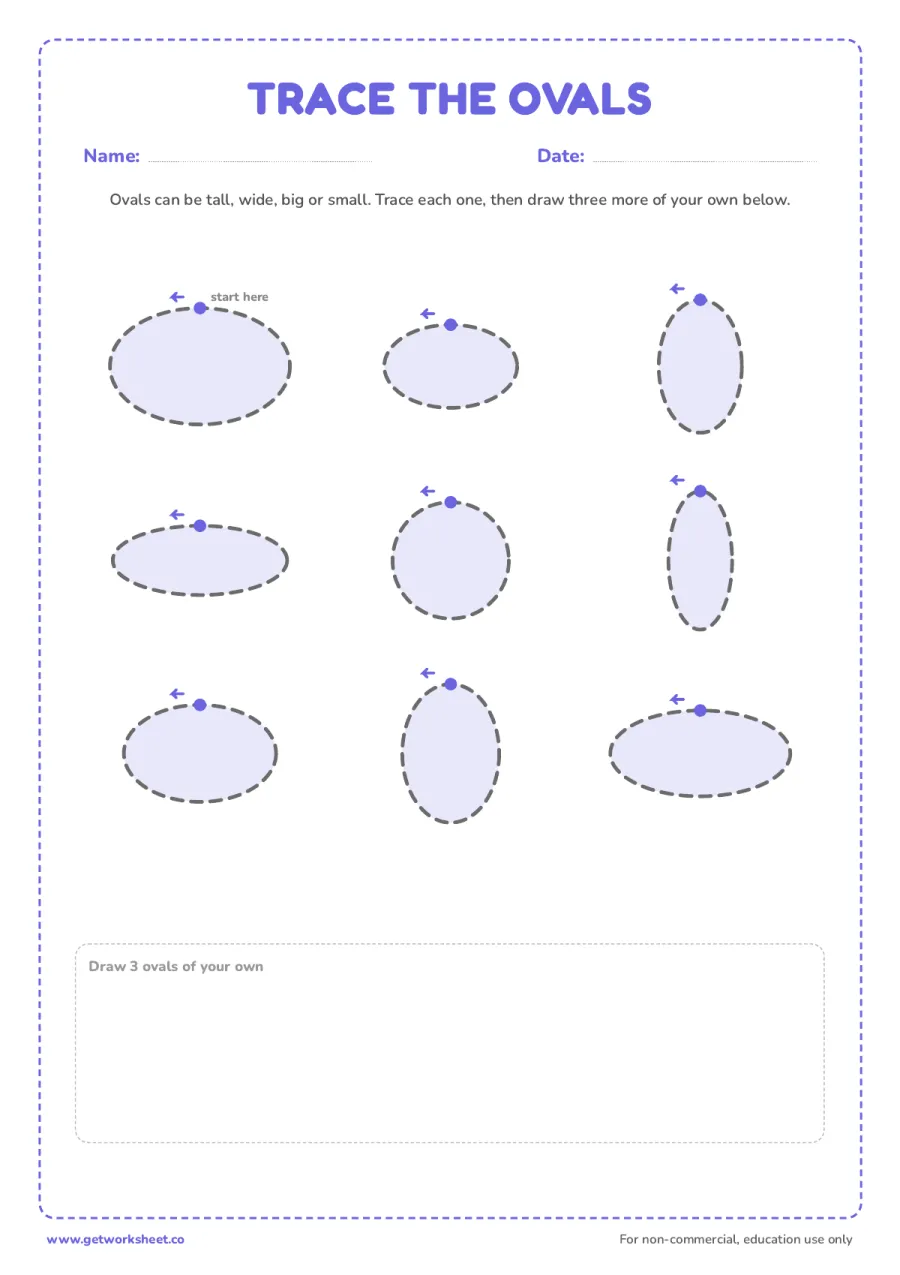
Trace the ovals: mixed tall, wide, big and small
Nine dashed ovals of mixed sizes and orientations, some tall and some wide, each with a start dot; child traces each then draws three more in the box.
AI worksheet generator
Make a worksheet like this for your class
The 3 sheets above are fixed. The generator writes a new oval tracing worksheet for your grade, with the question types and count you choose, in about 20 seconds. Pick a grade to start:
What you get
- A fresh set of questions on oval tracing, not a copy of the sheets above
- Multiple choice, fill in the blanks, true or false, open ended
- Answer key and print-ready PDF with Pro
Free account, 1 worksheets a week. No card.
These three oval tracing worksheets go from big to small to mixed. Sheet one has nine large dashed ovals in three rows, wide, then tall, then wide, each with a start dot and an arrow; the child traces round each one and then draws three ovals in the box at the bottom. Sheet two has sixteen small dashed ovals in a 4 by 4 grid, alternating tall and wide, each with a start dot, for finer control once the big curve is smooth. Sheet three mixes nine ovals of different sizes and orientations, some tall and some wide, so children learn that an oval is still an oval whichever way it turns. Every sheet ends with space to draw three ovals without a guide.
An oval is a stretched circle, and tracing it teaches the same smooth, continuous curve children need for the letters O, C, G and Q and the numbers 0, 6 and 9. It is slightly harder than a circle because the curve changes speed: tighter at the ends, flatter along the sides.
What Students Will Practice
- Tracing an oval in one smooth stroke, starting at the dot on each shape
- Controlling the pencil around the tighter curve at each end, especially on the sixteen small ovals of sheet two
- Drawing tall (portrait) and wide (landscape) ovals, which alternate on sheets one and two and are mixed on sheet three
- Recognizing ovals of different sizes and telling them apart from circles
- Drawing three ovals independently in the box at the bottom of each sheet
Free printable makers
Make your own oval tracing sheets
Type your own words or numbers and print in about 30 seconds. No account, no AI, answer key where it applies.
 Math fact worksheet generatorAddition to division drills with an answer key. Free to print.
 Multiplication chart generatorCharts to 15, full, blank or coloured, and times table tests with key. Free to print.
 Telling time worksheet generatorAnalogue clocks to read, draw, match or add time to, with answer key. Free to print.
AI worksheet generator
Need a different oval tracing worksheet?
Generate a custom oval tracing worksheet: pick the grade, question types and count, and print it in about 20 seconds. Free accounts get 1 generation a week.
How to Use These Worksheets
Print at 100% on A4 or US Letter paper. Five to ten minutes per sheet is plenty for young children.
- Start at the dot, go left. The dot sits at the top of each oval and the arrow points left. This counter-clockwise direction is the one used to write O, C and G, so practicing it here pays off later.
- Trace in the air first. Big arm circles, then finger tracing on the page, then the pencil. Starting large and physical builds the motion before the small muscles have to do it.
- Talk about circles and ovals. Ask “what is the difference?” An oval is longer one way. Hold up an egg and a ball if you have them.
- Move to sheet two when the curve is smooth. Smaller ovals need finer control. If the lines get wobbly or the ends turn into points, go back to the large sheet for another day.
- Finish with sheet three. Tall and wide ovals in one place. Ask your child to find the tallest and the widest before tracing, then draw three of their own in the box.
Common Mistakes to Watch For
- Pointed ends: The pencil slows too much at the ends and the oval turns into a lemon shape. Encourage one continuous, even-speed stroke.
- Not closing the shape: The line stops short of the dot. Say “all the way back home to the dot”.
- Going clockwise: Not wrong for the shape, but the counter-clockwise habit makes letter writing easier later. Gently redirect.
- Drawing a circle instead: Point at the dashed guide and ask which way it is longer, then trace slowly along the long sides together.
Frequently Asked Questions
What age are oval tracing worksheets for?
Ages 3 to 5. Introduce ovals after circles feel easy, since the changing curve needs a little more control. Sheet one suits preschool; sheets two and three suit kindergarten.
Why start at the top and go left?
Because that is the stroke used to write the letters O, C, G, Q and the number 0. Practicing the same direction on shapes means the movement is already automatic when letters arrive.
Which shapes should come before and after ovals?
Lines and circles first, then ovals, then shapes with corners such as squares, rectangles and triangles. After the basic shapes, children can combine them into drawings and move on to letter and number tracing.
Can I reuse the sheets?
Yes. Put a printed sheet in a clear plastic sleeve and trace with a dry-erase marker, or simply print another copy. The PDFs are free for home and classroom use.
More Shape Tracing Practice
Complete the set with our circle tracing worksheets, square tracing worksheets, rectangle tracing worksheets and triangle tracing worksheets. Children who are ready for letters and numerals can move on to the number tracing worksheets 1 to 20 and the handwriting worksheets.
Free library
Related collections
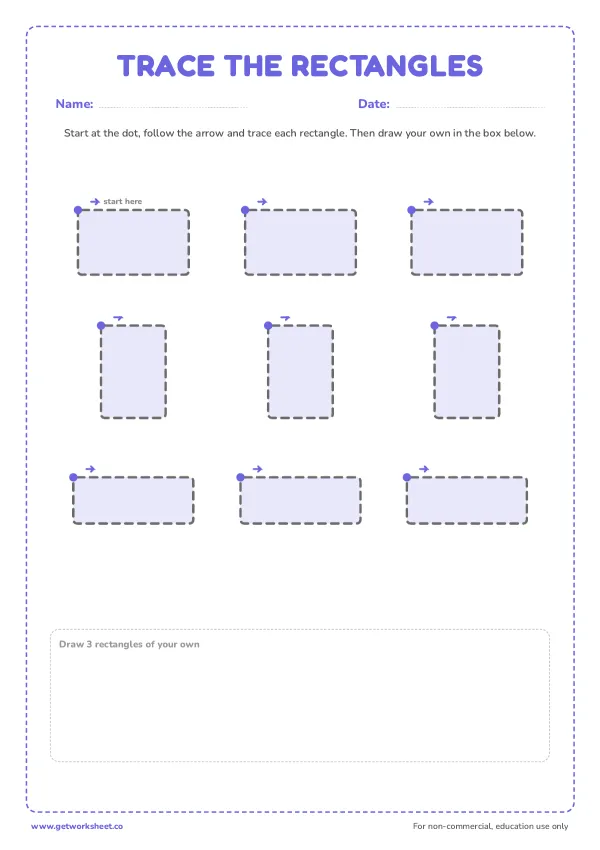
Free rectangle tracing worksheets
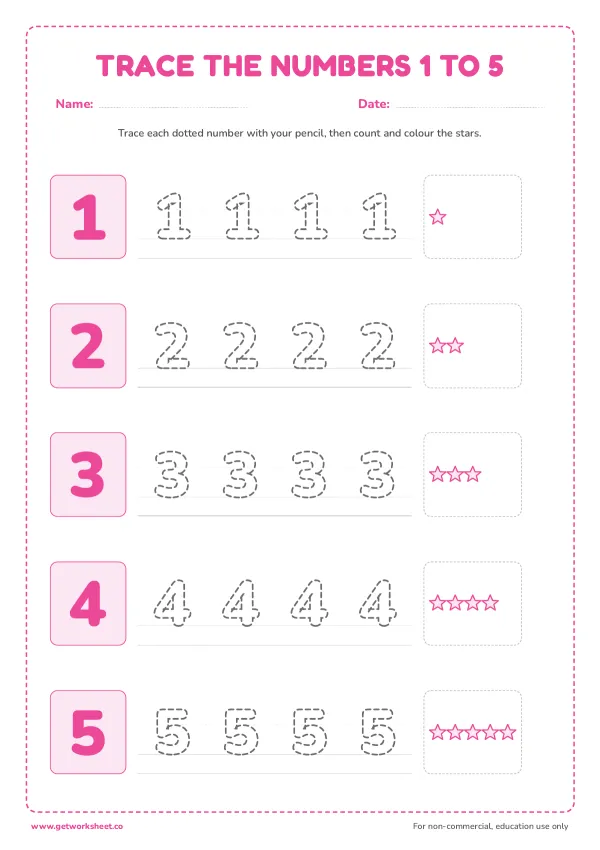
Free number tracing worksheets (1-20)
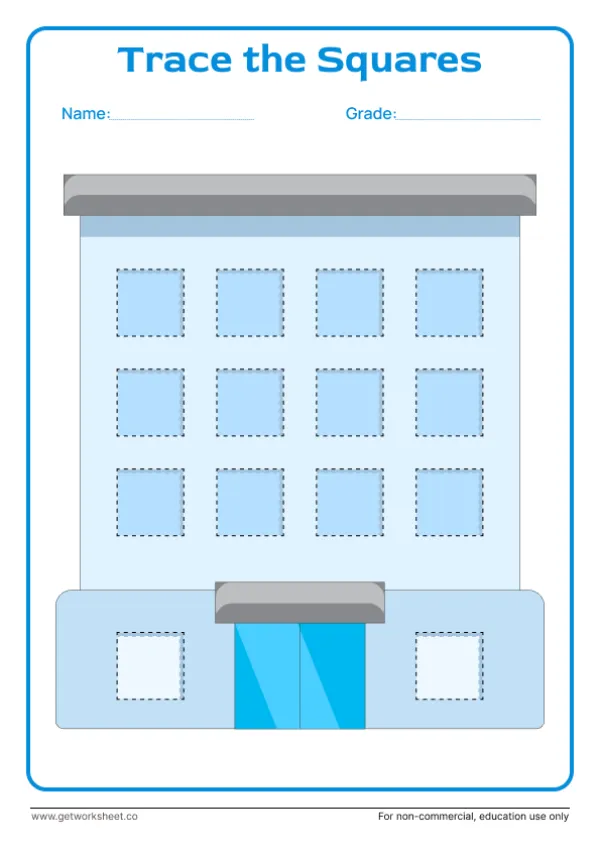
Free square tracing worksheets
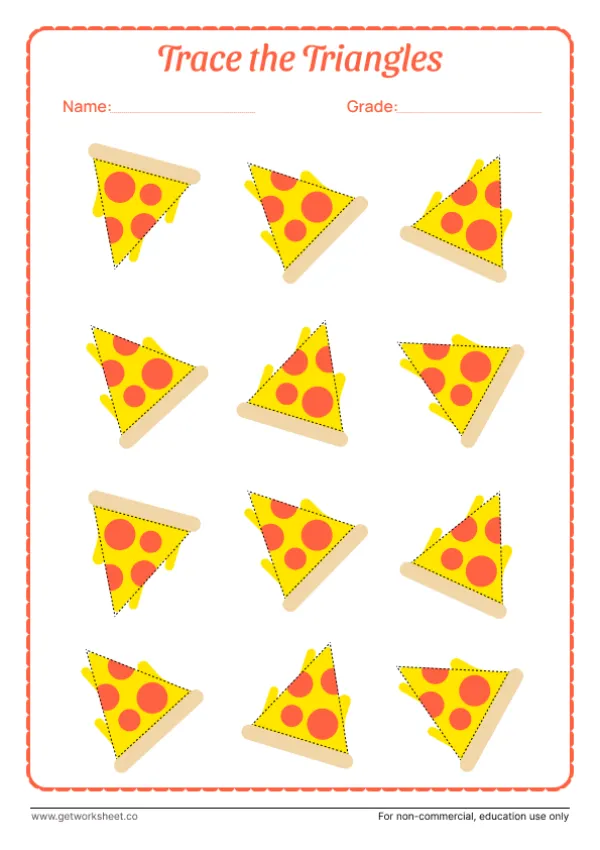
Free triangle tracing worksheets
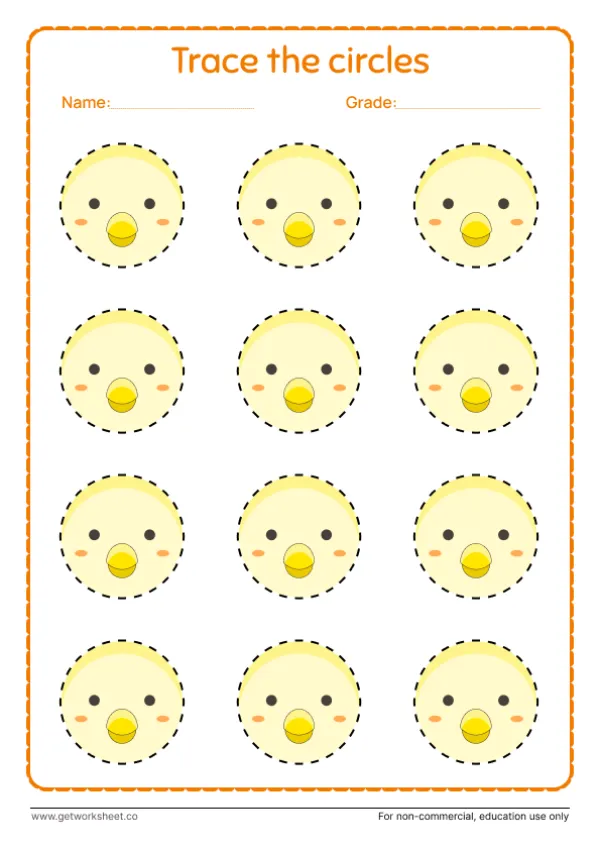
Free circle tracing worksheets
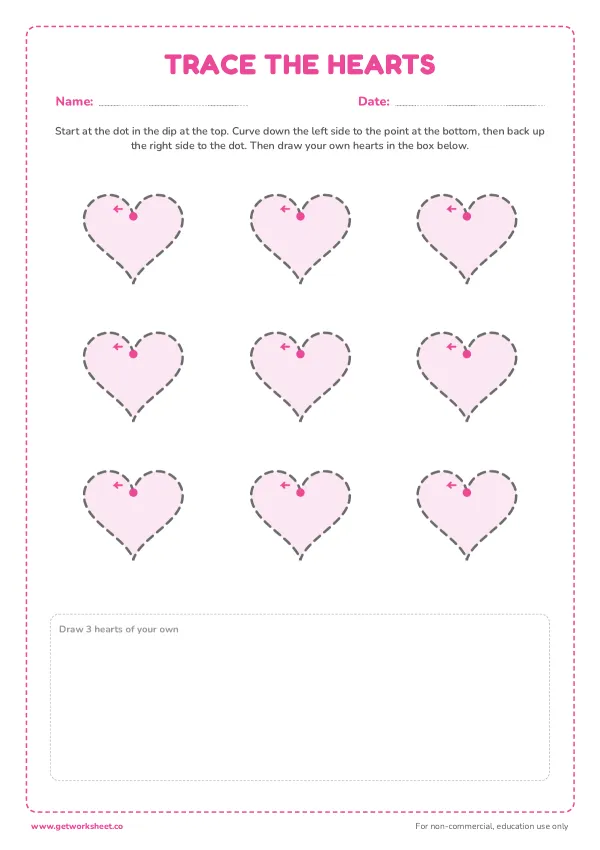
Free heart tracing worksheets
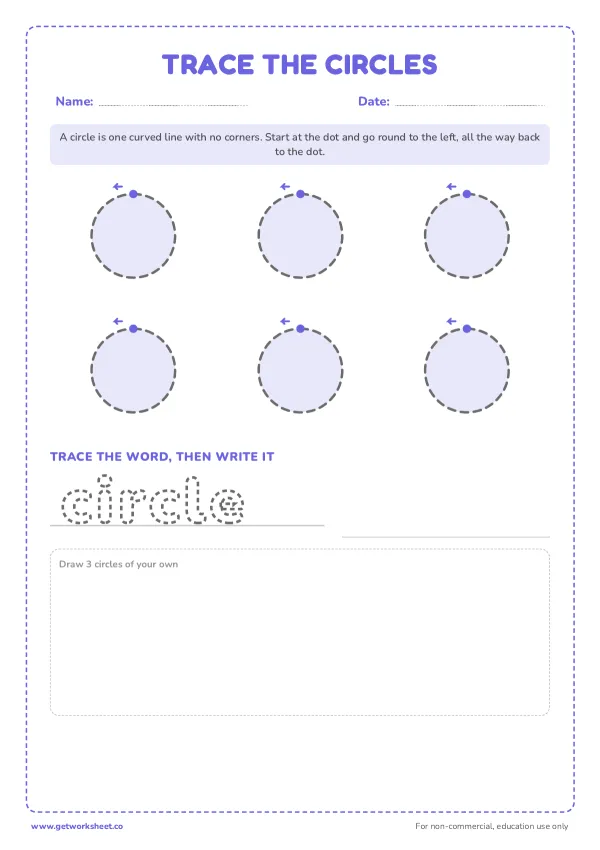
Free shape tracing worksheets
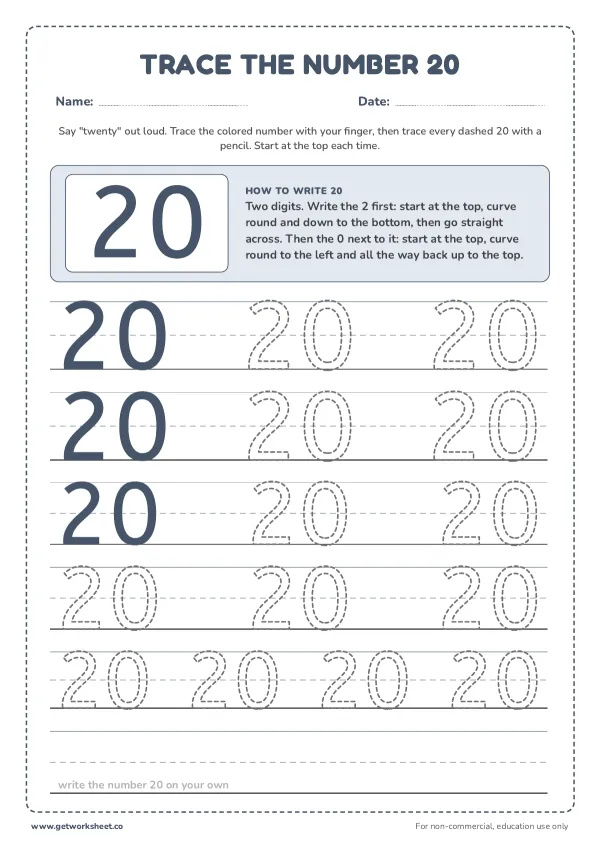
Free number 20 tracing worksheets
More worksheets
- Free number 19 tracing worksheets
- Free number 18 tracing worksheets
- Free number 17 tracing worksheets
- Free number 16 tracing worksheets
- Free number 15 tracing worksheets
- Free number 14 tracing worksheets
- Free number 13 tracing worksheets
- Free number 12 tracing worksheets
- Free number 11 tracing worksheets
- Free number 10 tracing worksheets
- Free number 9 tracing worksheets
- Free number 8 tracing worksheets