Chemistry · Grades 6–10
Free lab safety worksheets
Five printable lab safety worksheets for grades 6 to 10: sixteen behaviors to judge safe or unsafe, the nine GHS hazard pictograms to name, safety equipment to match and locate and more. Answer keys included.
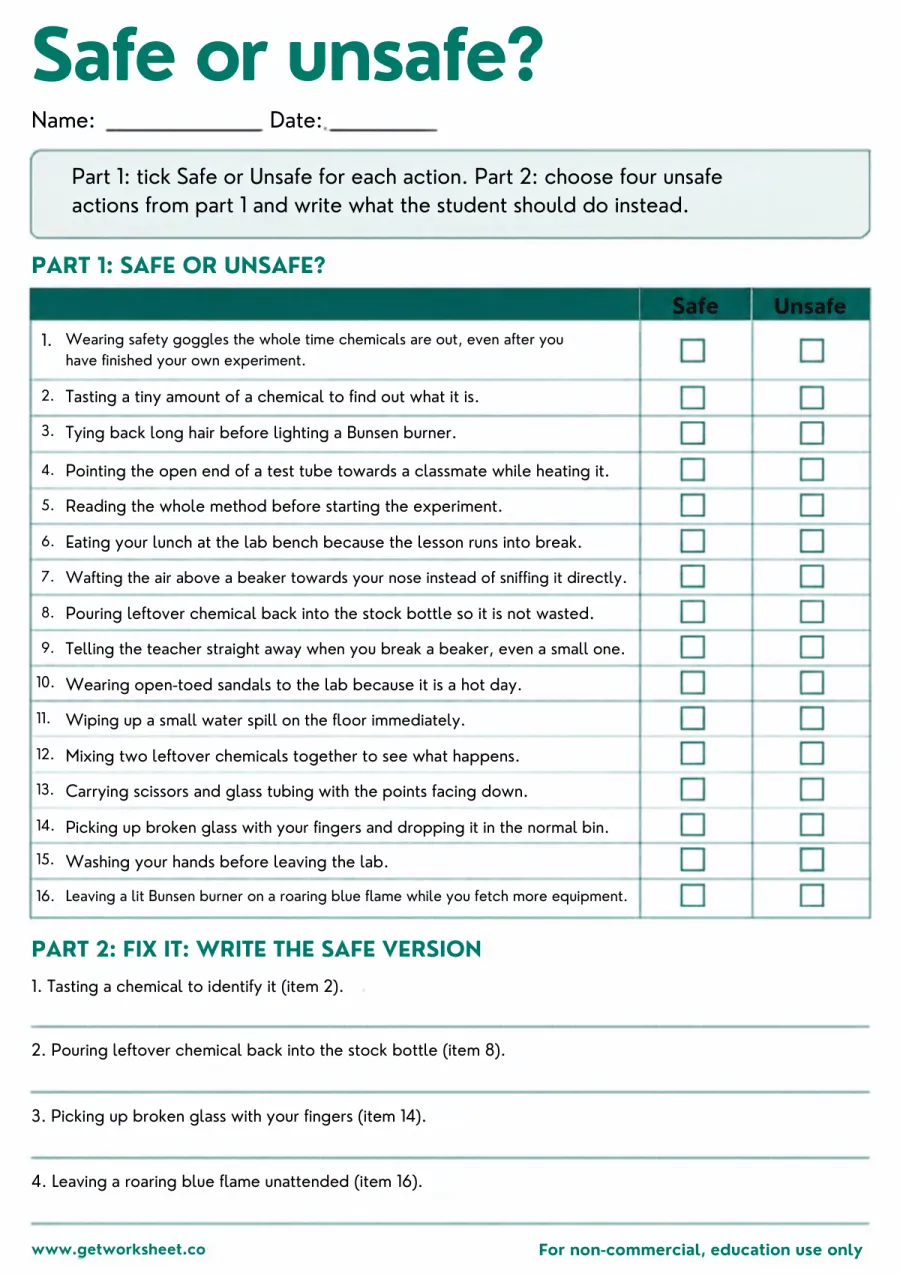
Safe or unsafe? 16 lab behaviours to judge, then fix the unsafe ones
Sixteen things students do in a science lab to tick as safe or unsafe, then four unsafe actions to rewrite as the safe version. Answer key on page 2.
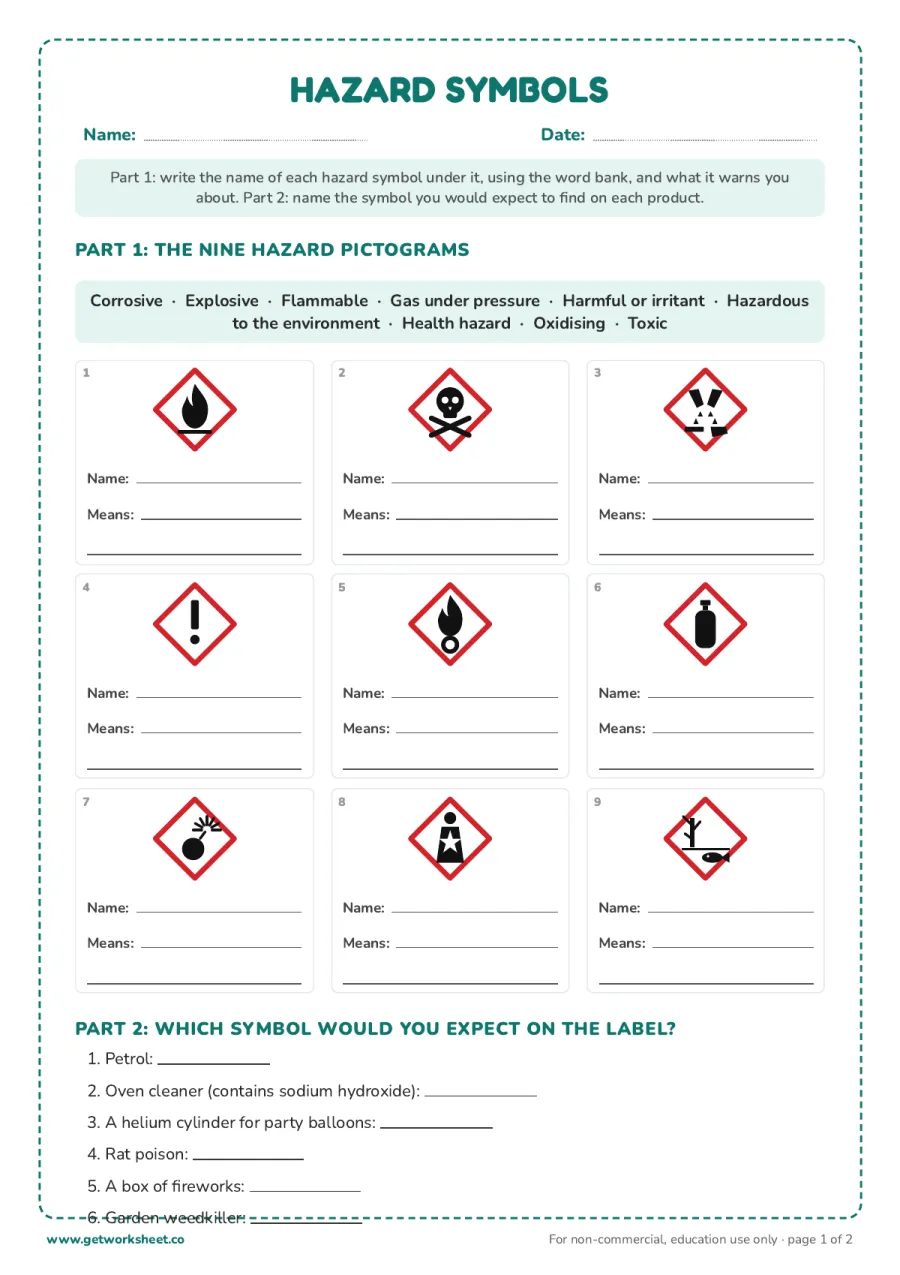
Hazard symbols: name the 9 GHS pictograms and match them to products
The nine GHS hazard pictograms (flammable, oxidising, toxic, corrosive, harmful, gas under pressure, explosive, health hazard, hazardous to the environment) to name and explain, then six everyday products to match to a symbol. Answer key on page 2.
Whole set
All 5 sheets in one PDF
Instant and ad-free. No account needed.
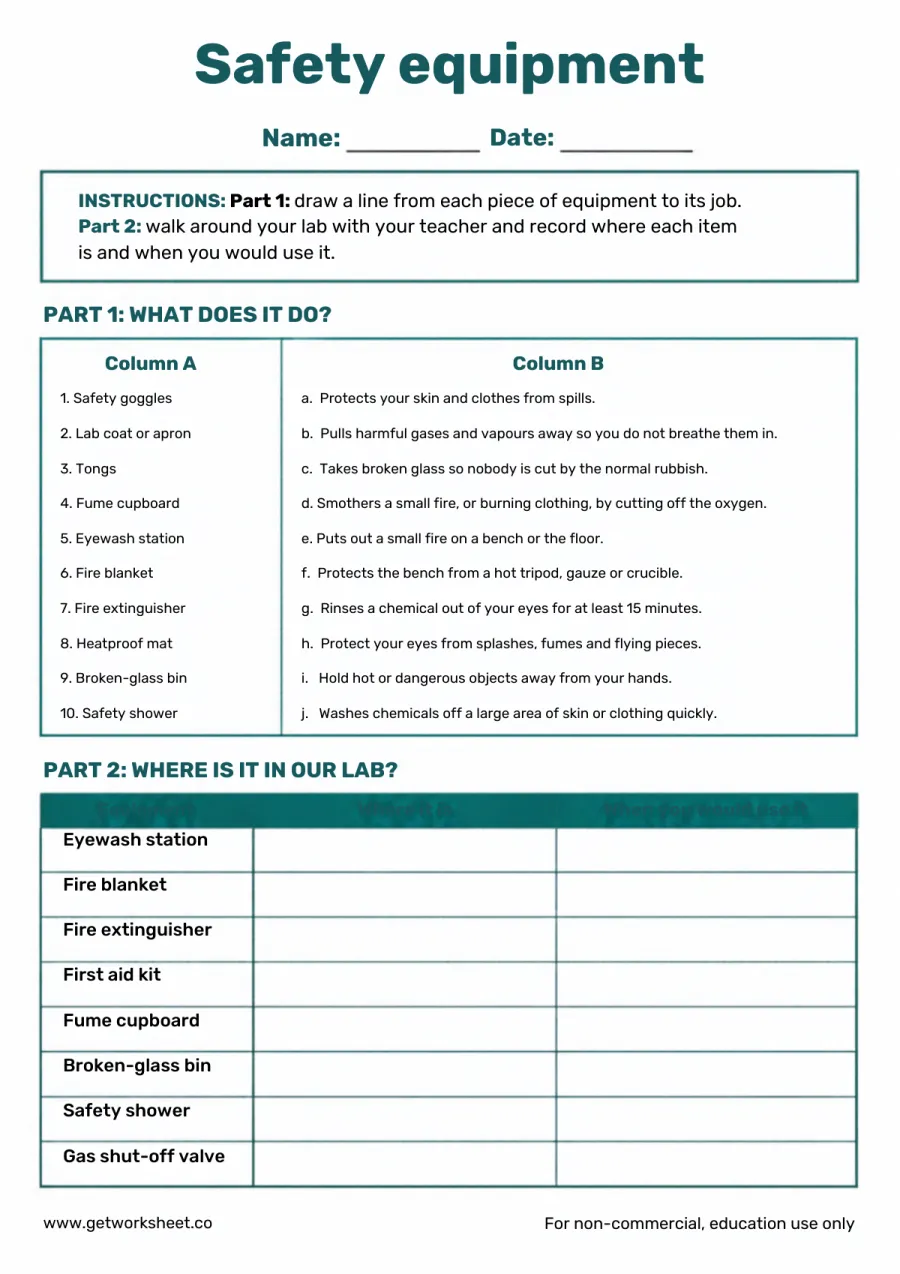
Safety equipment: match 10 items to their purpose, then map your own lab
Match ten pieces of safety equipment (goggles, fume cupboard, eyewash station, fire blanket, heatproof mat and more) to what they do, then record where each one is in your own lab and when you would use it. Answer key on page 2.
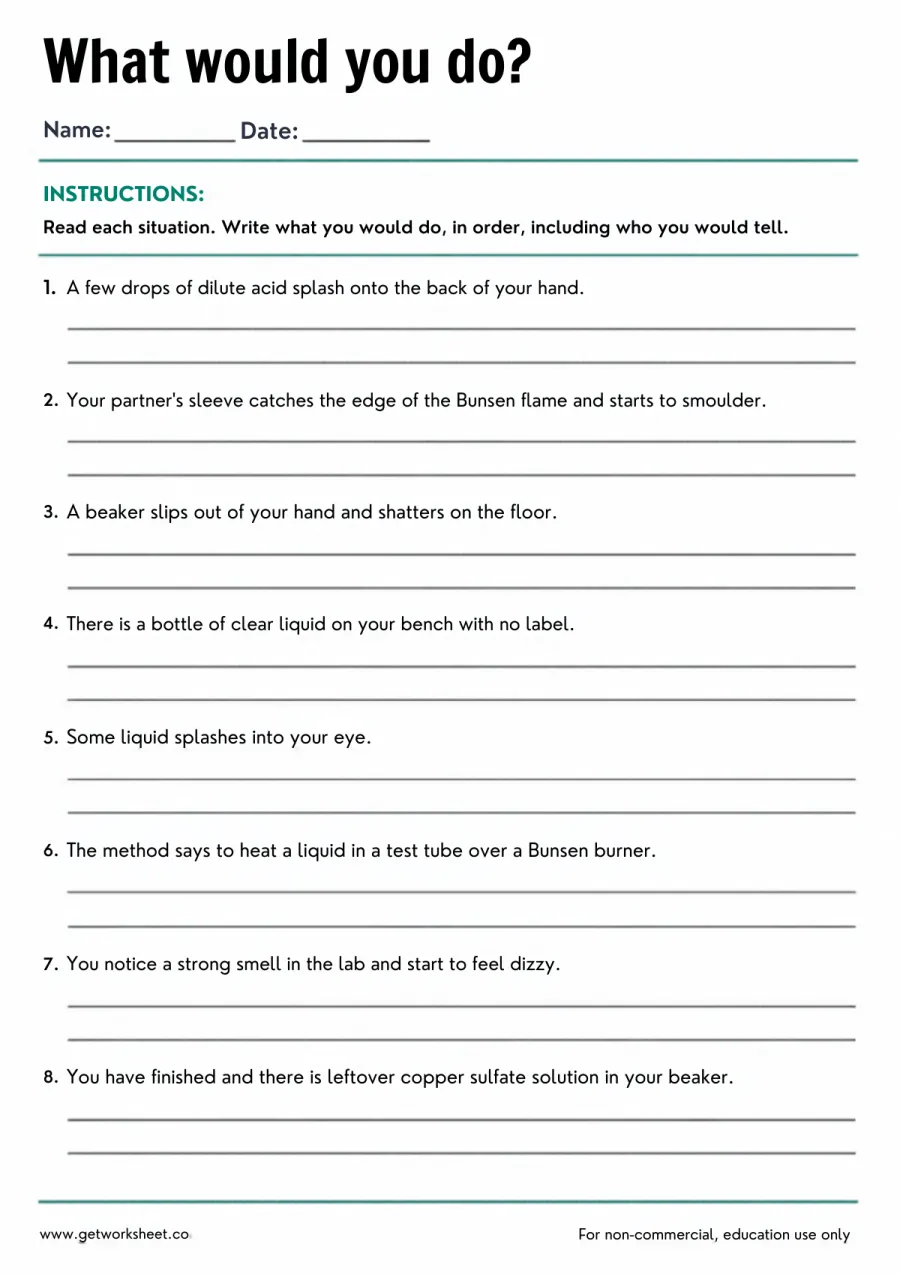
What would you do? 8 lab emergencies and near-misses to respond to
Eight realistic lab situations (acid on your hand, a sleeve that catches fire, a shattered beaker, an unlabelled bottle, a splash in the eye, a strong smell) with space to write the correct response. Model answers on page 2.
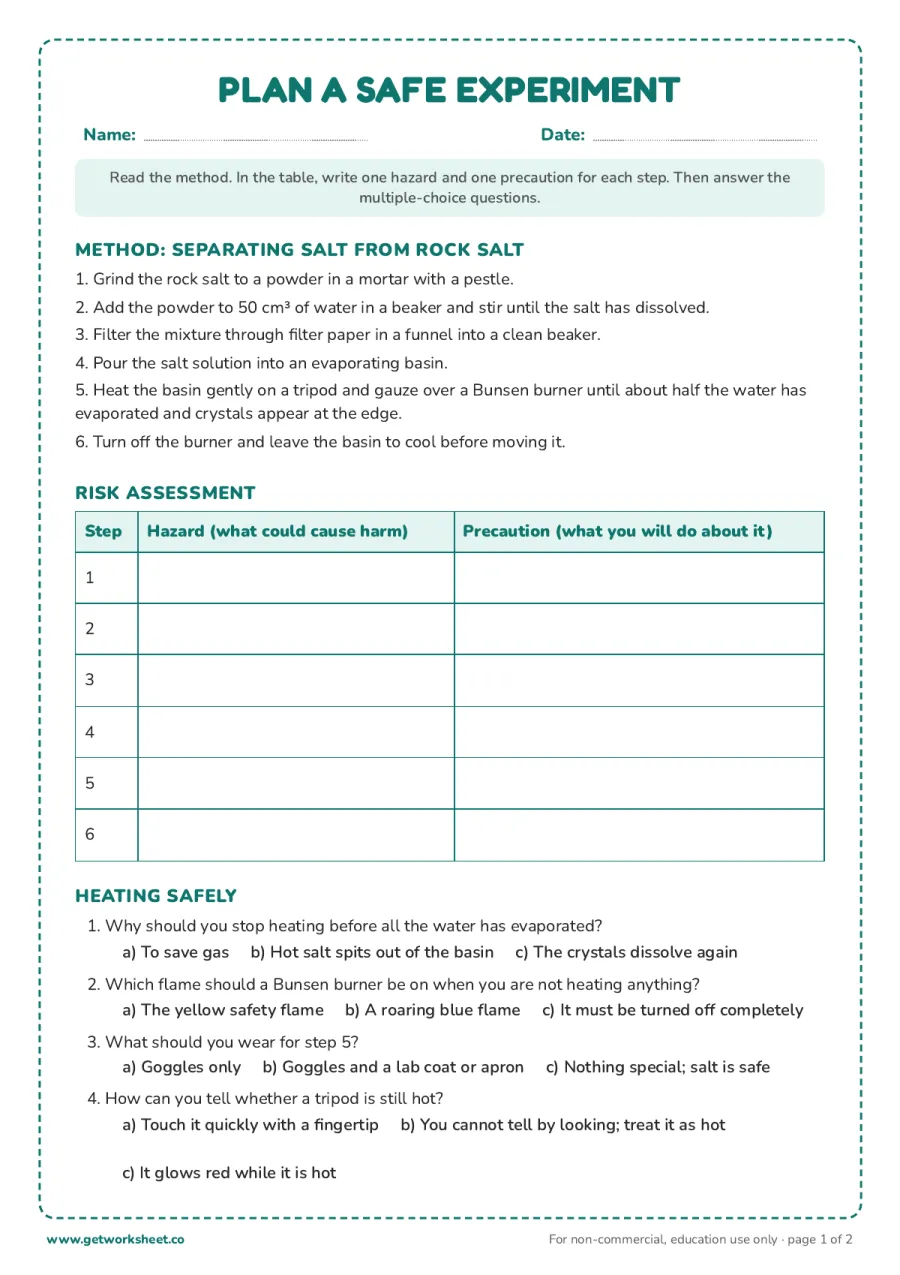
Plan a safe experiment: risk-assess a real 6-step method
A real six-step method (separating salt from rock salt by grinding, dissolving, filtering and evaporating) to risk-assess step by step: the hazard and the precaution for each, plus four multiple-choice questions on heating safely. Answer key on page 2.
AI worksheet generator
Make a worksheet like this for your class
The 5 sheets above are fixed. The generator writes a new lab safety worksheet for your grade, with the question types and count you choose, in about 20 seconds. Pick a grade to start:
What you get
- A fresh set of questions on lab safety, not a copy of the sheets above
- Multiple choice, fill in the blanks, true or false, open ended
- Answer key and print-ready PDF with Pro
Free account, 1 worksheets a week. No card.
Most schools require students to pass a lab safety check before their first practical, and most lab accidents come from the same short list of behaviors: not wearing goggles, heating a test tube that points at someone, picking up glass by hand. These five worksheets cover that list and the reasoning behind it, so students know what the rules are and why each one exists. They are written for the first weeks of a middle school or early high school science course and are also a good refresher at the start of any year.
What's in this set
- Safe or unsafe? Sixteen everyday lab behaviors (wafting to smell, returning leftover chemical to the stock bottle, leaving a roaring flame) to tick as safe or unsafe, then four of the unsafe ones to rewrite as the safe version.
- Hazard symbols. The nine red-diamond GHS pictograms drawn large, each with a line for its name and meaning (word bank supplied), then six products (petrol, oven cleaner, a helium cylinder, rat poison, fireworks, weedkiller) to match to the symbol you would expect on the label.
- Safety equipment. Ten pieces of safety equipment to match to their purpose, then a table to fill in during a walk around your own lab: where the eyewash station, fire blanket, fire extinguisher, first aid kit, fume cupboard, broken-glass bin, safety shower and gas shut-off are, and when you would use each.
- What would you do? Eight scenarios written as they would happen in a school lab, from a few drops of acid on the hand to leftover copper sulfate at the end of the lesson, each with two lines for the correct response. Model answers on page 2.
- Plan a safe experiment. A six-step method for separating salt from rock salt, a hazard-and-precaution table to complete for every step, and four multiple-choice questions on the heating stage (why you stop before all the water has gone, which flame to leave a Bunsen on, what to wear, how to treat a tripod that looks cool).
What students will practice
- Recognizing safe and unsafe behavior in the lab and stating the safe alternative
- Naming the nine GHS hazard pictograms and predicting which appear on everyday products
- Matching safety equipment to its purpose and knowing where each item is in their own lab
- Responding correctly to spills, splashes, fires, broken glass and unknown substances, including when to tell the teacher
- Reading a method and writing a hazard and a precaution for each step (a simple risk assessment, as required for practical work in most curricula)
- Heating safely with a Bunsen burner: safety flame, goggles, test-tube angle, cooling time
Free printable makers
Make your own lab safety sheets
Type your own words or numbers and print in about 30 seconds. No account, no AI, answer key where it applies.
AI worksheet generator
Need a different lab safety worksheet?
Generate a custom lab safety worksheet: pick the grade, question types and count, and print it in about 20 seconds. Free accounts get 1 generation a week.
How to use these worksheets in class
- Lesson 1, before any practical. Safe or unsafe? works as a starter: students tick the sixteen items alone, then defend their answers in pairs. Items 8 and 16 (returning chemical to the stock bottle, leaving a roaring flame) split most classes and make the best discussions.
- Hazard symbols with real labels. Bring in an empty bottle of oven cleaner, a can of spray paint and a bottle of nail varnish remover. Students complete Hazard symbols, then find the same pictograms on the packaging. The word bank makes the sheet accessible to grade 6; remove it (fold the top of the page) for a test.
- Walk the lab. Part 2 of Safety equipment is designed to be completed on foot. Students should physically find the eyewash station, fire blanket and gas shut-off, not guess. Many students have never noticed the shut-off valve.
- Scenarios as role-play. Read one situation from What would you do? aloud and have a student act the response while the class checks it against the model answer. The two most commonly wrong: wiping acid off with a cloth instead of rinsing, and running when clothing catches fire.
- Risk assessment before the practical. Plan a safe experiment uses the standard rock salt separation. Complete the table as a class the first time, then have students risk-assess the next practical on their own using the same table format. This is the habit that matters most for later years.
- Safety contract. Many teachers staple the completed Safe or unsafe? sheet to a signed safety agreement and keep it on file.
Answer key
Every practice sheet carries its own answer key on page 2 of the PDF. The keys are repeated here for quick marking.
- Safe or unsafe?: Part 1: safe or unsafe?: 1. Safe 2. Unsafe 3. Safe 4. Unsafe 5. Safe 6. Unsafe 7. Safe 8. Unsafe 9. Safe 10. Unsafe 11. Safe 12. Unsafe 13. Safe 14. Unsafe 15. Safe 16. Unsafe Part 2: fix it: write the safe version: 1. Never taste anything in the lab; read the label, or ask the teacher. 2. Put leftovers in the labelled waste container; never return them to the stock bottle, because they may be contaminated. 3. Warn others, use a dustpan and brush or tongs, and put the pieces in the broken-glass bin. 4. Turn the collar to the yellow safety flame, or turn the burner off, before stepping away from the bench.
- Hazard symbols: Part 1: the nine hazard pictograms: 1. Flammable: catches fire easily; keep away from heat, sparks and flames 2. Toxic: can kill or cause serious harm if swallowed, breathed in or touched, even in small amounts 3. Corrosive: destroys skin, eyes and metals on contact (strong acids and alkalis) 4. Harmful or irritant: less serious health risk: irritates skin or eyes, or is harmful if swallowed 5. Oxidising: gives off oxygen and makes fires burn more fiercely 6. Gas under pressure: compressed gas in a cylinder; may explode if heated, and released gas can cause cold burns 7. Explosive: may explode if heated, struck or exposed to a spark 8. Health hazard: may cause long-term harm such as cancer, breathing problems or damage to organs 9. Hazardous to the environment: poisonous to fish and other living things; must not go down the drain Part 2: which symbol would you expect on the label?: 1. flammable 2. corrosive 3. gas under pressure 4. toxic 5. explosive 6. hazardous to the environment (often also harmful or irritant)
- Safety equipment: Part 1: what does it do?: Safety goggles = Protect your eyes from splashes, fumes and flying pieces.; Lab coat or apron = Protects your skin and clothes from spills.; Tongs = Hold hot or dangerous objects away from your hands.; Fume cupboard = Pulls harmful gases and vapours away so you do not breathe them in.; Eyewash station = Rinses a chemical out of your eyes for at least 15 minutes.; Fire blanket = Smothers a small fire, or burning clothing, by cutting off the oxygen.; Fire extinguisher = Puts out a small fire on a bench or the floor.; Heatproof mat = Protects the bench from a hot tripod, gauze or crucible.; Broken-glass bin = Takes broken glass so nobody is cut by the normal rubbish.; Safety shower = Washes chemicals off a large area of skin or clothing quickly.
- What would you do?: 1. Rinse the hand under cold running water for several minutes and tell the teacher. Do not wipe it with a cloth or paper towel. 2. Shout for the teacher at once. Move your partner away from the flame and smother the sleeve with the fire blanket; if clothing is burning, stop, drop and roll. Never run. 3. Warn the people around you, step back and tell the teacher. Sweep the pieces up with a dustpan and brush, never your fingers, into the broken-glass bin. 4. Do not use it, smell it or pour it away. Tell the teacher so it can be identified and disposed of safely. 5. Go straight to the eyewash station, hold the eye open and rinse for at least 15 minutes while someone fetches the teacher. Do not rub the eye. 6. Wear goggles, hold the tube in a test-tube holder, point it away from everyone, and heat gently by moving it in and out of the flame so the liquid does not spit. 7. Move away from the source, tell the teacher immediately and open windows or switch on the fume cupboard. Leave the room if the teacher says so. 8. Ask where it should go and pour it into the labelled waste container, never down the sink or back into the stock bottle. Wash the beaker and your hands.
- Plan a safe experiment: Risk assessment: 1 | Grit flying up; heavy pestle | Wear goggles; grind gently and hold the mortar steady on the bench 2 | Spilt water makes the floor slippery; glass beaker | Wipe spills at once; carry the beaker with two hands, away from the edge of the bench 3 | Funnel and beaker can tip over | Support the funnel in a stand or hold it; pour slowly 4 | Spilling solution over hands or bench | Pour slowly over the bench, not over yourself; wipe drips 5 | Open flame; hot tripod and gauze; hot salt solution spitting | Goggles on, hair tied back, heatproof mat under the tripod; heat gently and stop before all the water has gone; do not lean over the basin 6 | Basin, tripod and gauze stay hot for a long time | Leave for at least 10 minutes; move the basin with tongs; treat everything as hot until proven otherwise Heating safely: 1. b) Hot salt spits out of the basin 2. a) The yellow safety flame 3. b) Goggles and a lab coat or apron 4. b) You cannot tell by looking; treat it as hot
Common mistakes to watch for
- "Returning leftover chemical saves waste." It contaminates the whole stock bottle. Leftovers go in the labelled waste container.
- Confusing toxic and harmful. The skull and crossbones means small amounts can kill; the exclamation mark means a lesser hazard such as skin irritation. Both matter, but the response differs.
- Turning the Bunsen off between uses. Acceptable, but the taught habit is the yellow safety flame, which is visible from across the room. A burner that is off but still connected to an open gas tap is the real danger.
- Rinsing for a few seconds. Eyewash and skin rinsing continue for minutes, not seconds; 15 minutes for eyes.
- Precautions that are not precautions. "Be careful" is not a precaution. Ask for a specific action: goggles on, heatproof mat under the tripod, wait ten minutes before touching.
Frequently asked questions
What grade are these lab safety worksheets for?
Grades 6 to 10. Safe or unsafe? and Hazard symbols suit grade 6 upwards; Plan a safe experiment asks for a written risk assessment and suits grades 8 to 10, or younger students working as a class.
Do the worksheets include answer keys?
Yes. Every sheet has its key on the last page of the PDF and the keys are repeated on this page. The scenario sheet gives model answers; accept any response that includes the key actions (rinse, tell the teacher, do not run).
Which hazard symbols are covered?
The nine GHS (Globally Harmonized System) pictograms used on chemical labels worldwide: flammable, oxidising, toxic, corrosive, harmful or irritant, gas under pressure, explosive, health hazard and hazardous to the environment. These replaced the older orange square symbols.
Can I use these as a lab safety quiz or test?
Yes. Safe or unsafe? (16 items) and Hazard symbols (with the word bank folded away) work as a quick pass/fail check before a first practical. Many schools require a signed safety agreement as well; the completed sheets can be filed with it.
What experiment is used in the risk assessment sheet?
Separating salt from rock salt by grinding, dissolving, filtering and evaporating. It is one of the first practicals in most middle school chemistry courses and includes the hazards students meet most often: glassware, an open flame, hot equipment and a spitting solution.
Related chemistry worksheets
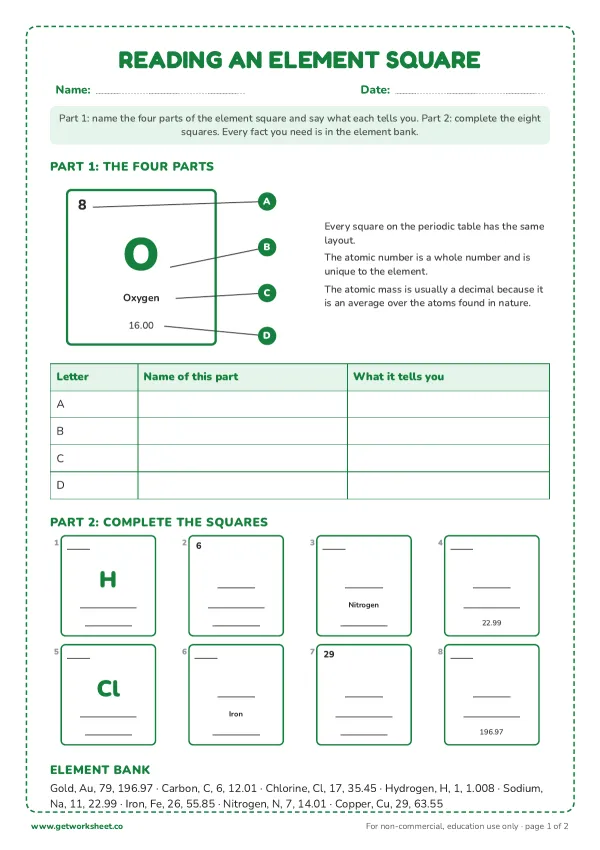
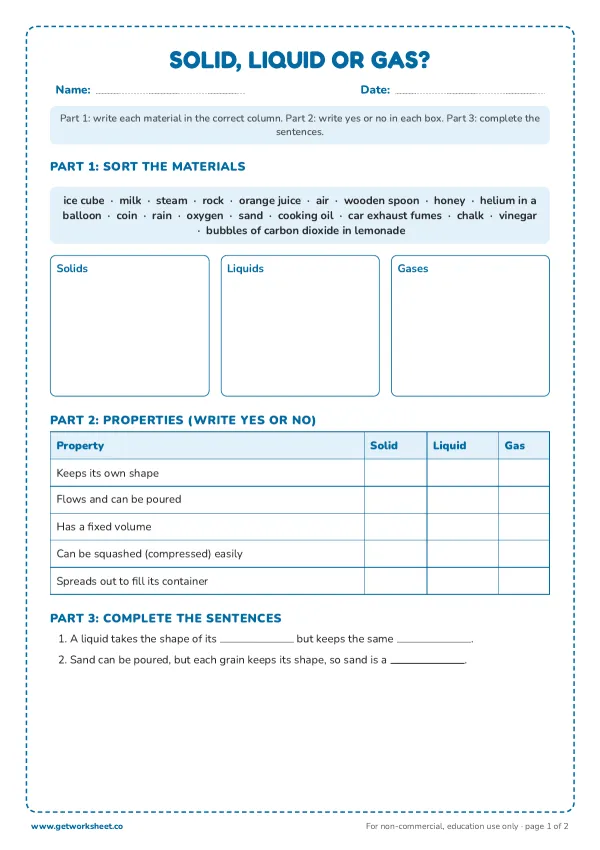
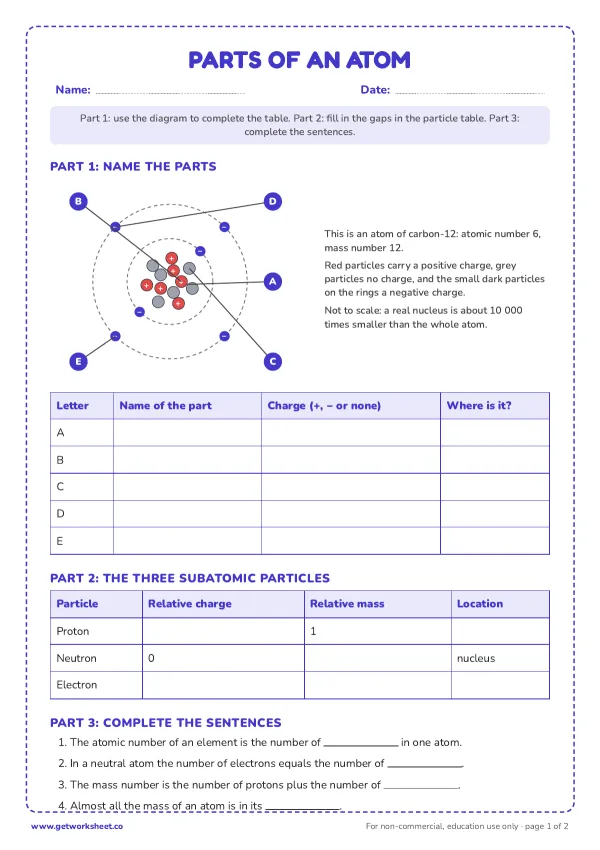
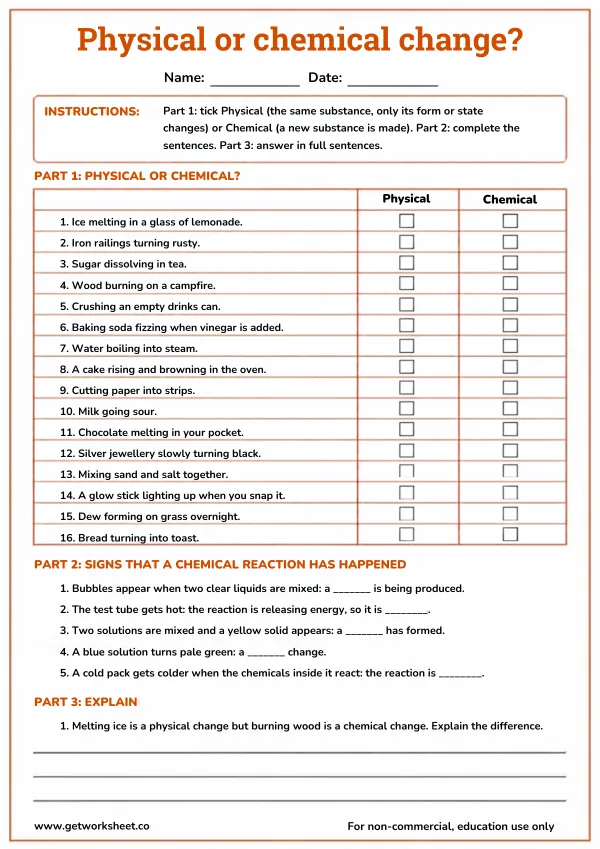
Once the safety rules are in place, move on to the states of matter worksheets, the atoms and molecules worksheets and the chemical reactions worksheets, which include the physical-or-chemical-change sorting sheet many teachers pair with the first practical. The periodic table worksheets introduce the elements students will handle.